Printrbot original 3D printer
Being a fan of home fabrication I followed the evolution of 3D printers, like the RepRap. With the development of the Printrbot original I figured I could own one of these myself one day. The trigger was a friend who bought an Ultimaker. He offered to print the build plates for the Printrbot. This was juli 2013.
Why the Printrbot Original?
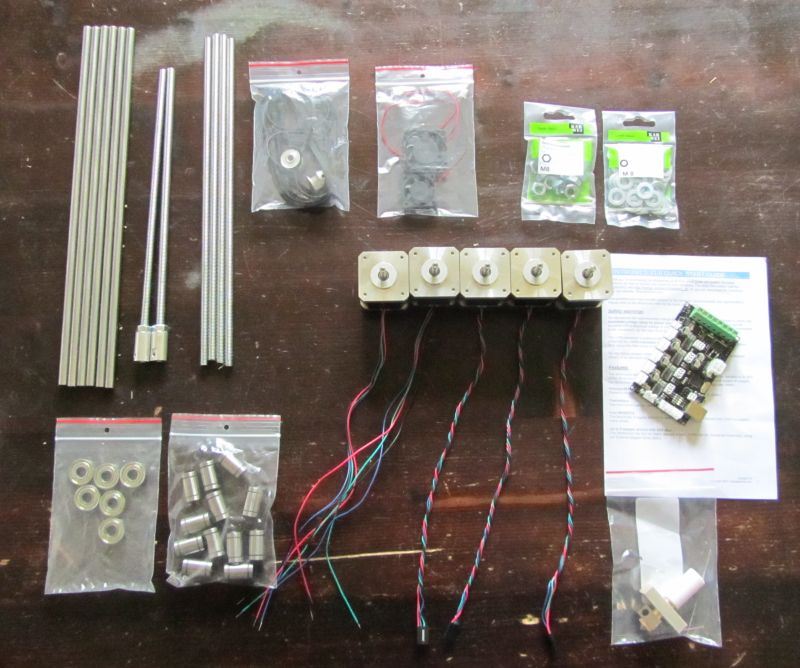
The Printrbot Original was one of the first printers which was simple to build and used a minimum of components. I really liked this design and figured out I could build this printer for a reasonable amount of money. Looking for a shop where I could buy the hardware and electronics, I found the reprapworld shop. I have chosen the minitronics electronics because it fits the simple design of the Printrbot and fits my needs. In the picture the hardware I bought to get started.
The build
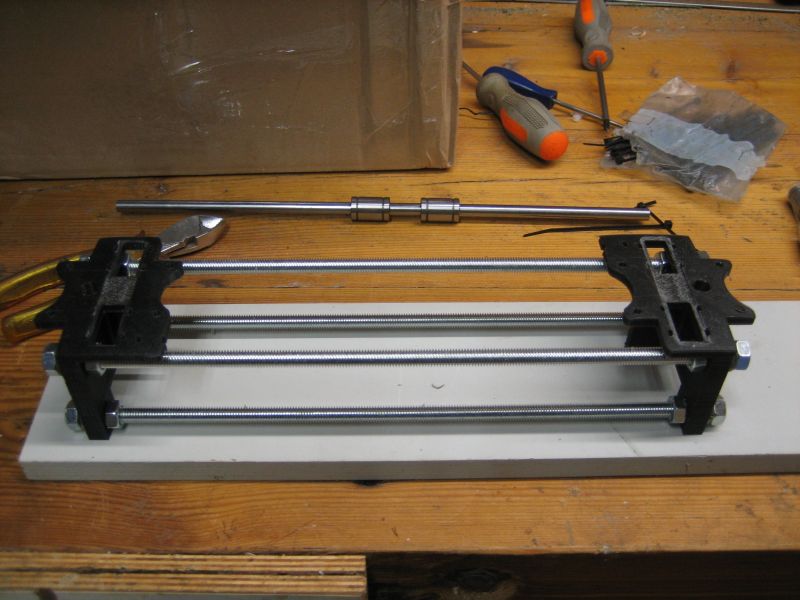
This is the base. I milled the top of the base because somehow during printing the bottom of the printed base had come loose on the edges. So with a mill I flattened the base at the bearings.
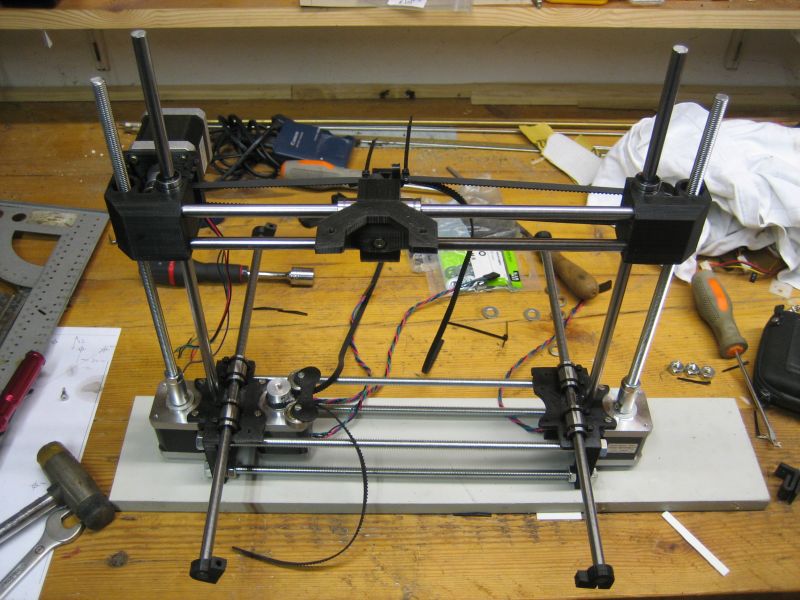
This picture shows the structure of the printer.
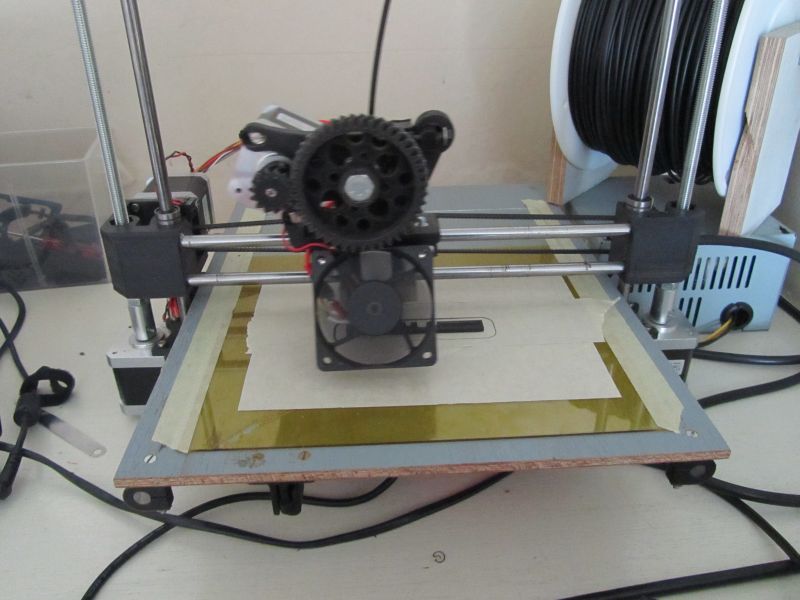
This is the Printrbot finished. Ready for calibration and fine tuning. The original hotend gave me problems because it deformed due to the head of the hotend. Initially a 30 mm fan was mounted. This was too small to cool the filament properly. The fan shown is my second attempt but it was actually too big for the job. It cooled the hotend (with wire wound resistor) to a value 10 degreed below the targeted 200 degrees. Therefor I used this fan partly covered. That gave consistent printing results.
The upgrade
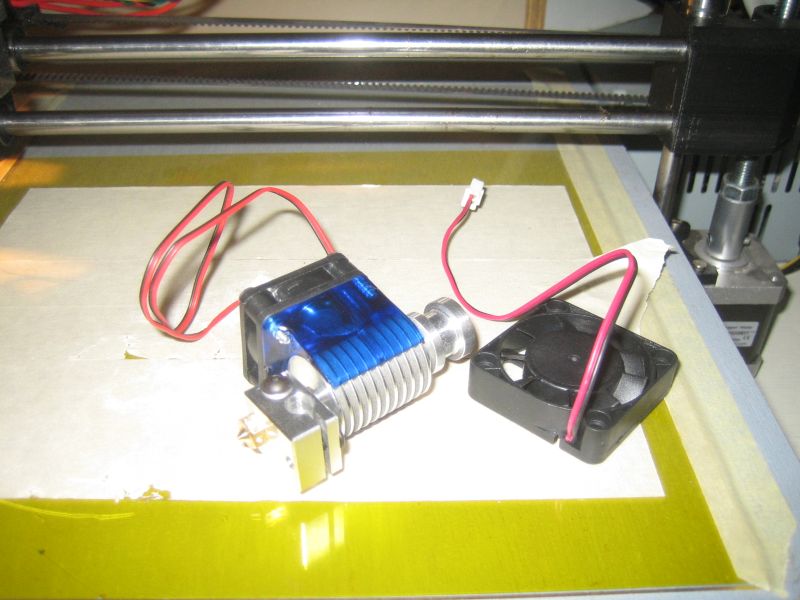
End 2014 I decided to update to a full metal hotend the E3D. I liked the design and it is compatible with a Jhead therefor the hotend is easy to mount in the Printbot. For cooling the filament I bought a 40mm fan which should be sufficient to cool the filament after printing.

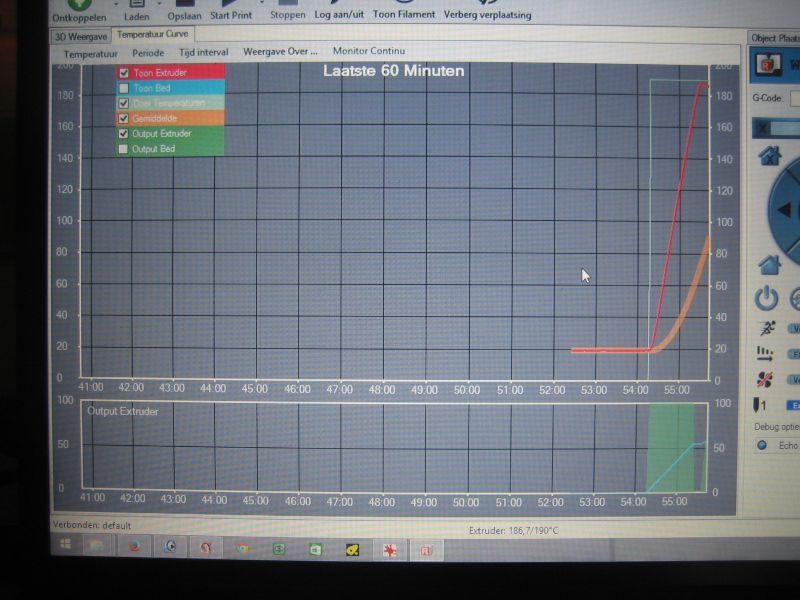
Due to the resistor used for heating the hotend the warm up time was rather long as can be seen on this picture (5 to 6 minutes)
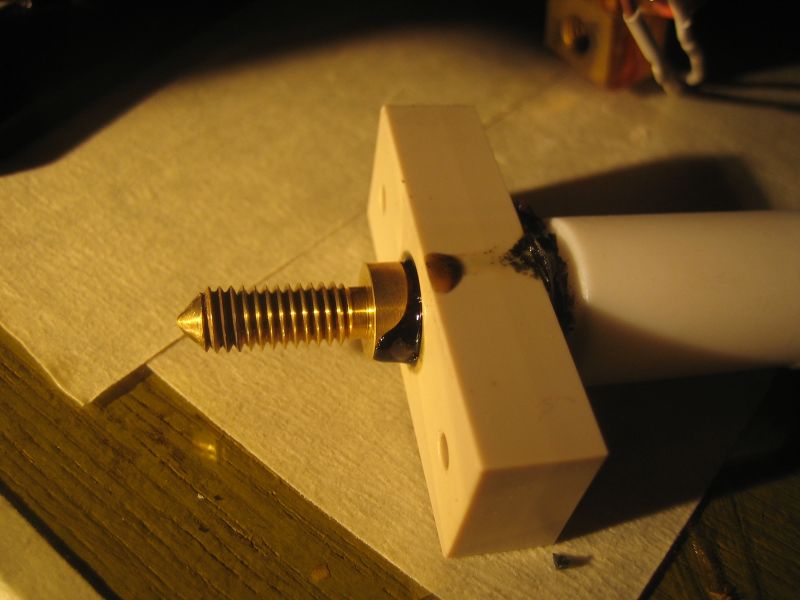
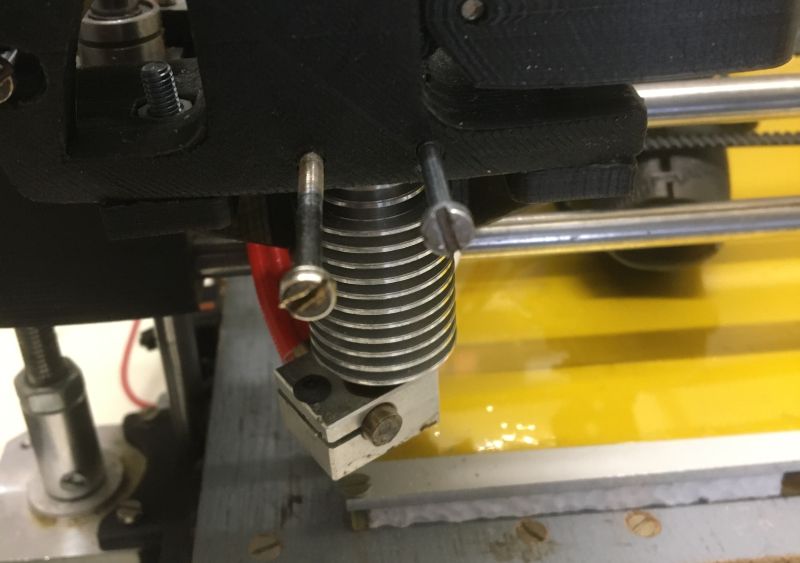
This is what the hotend looked like when disassembling. The deformation and filament leakage can be seen clearly. This also explains why I had to regularly adjust the Z axis end-stop setting.
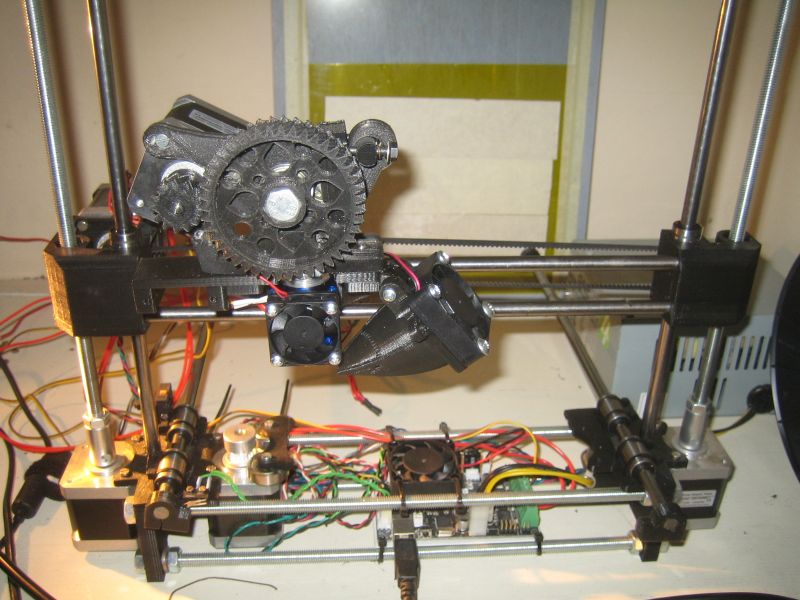
This is the rebuild in progress. It would have been easier to mount the electronics up side down on the top bars of the base. Then the cabling would be easy accessible from the bottom of the printer. Now I need to disassemble the print plate to get access to the electronics.
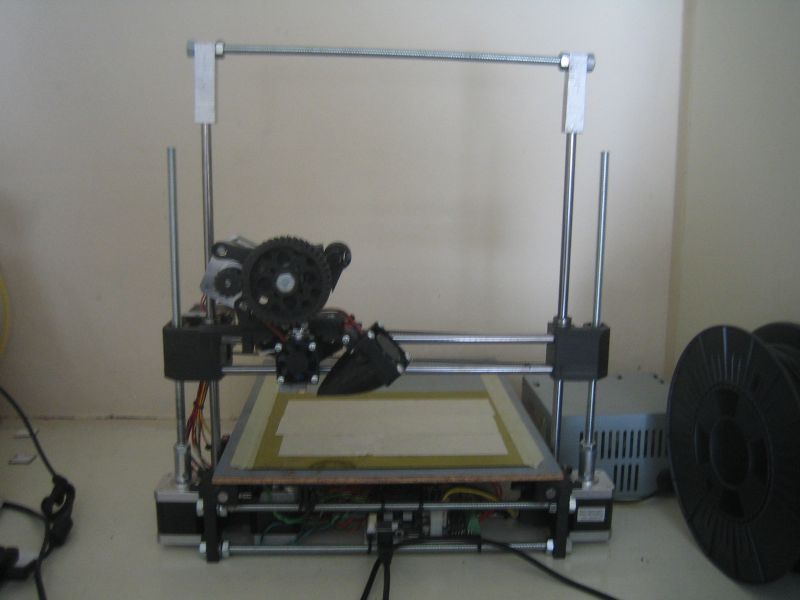
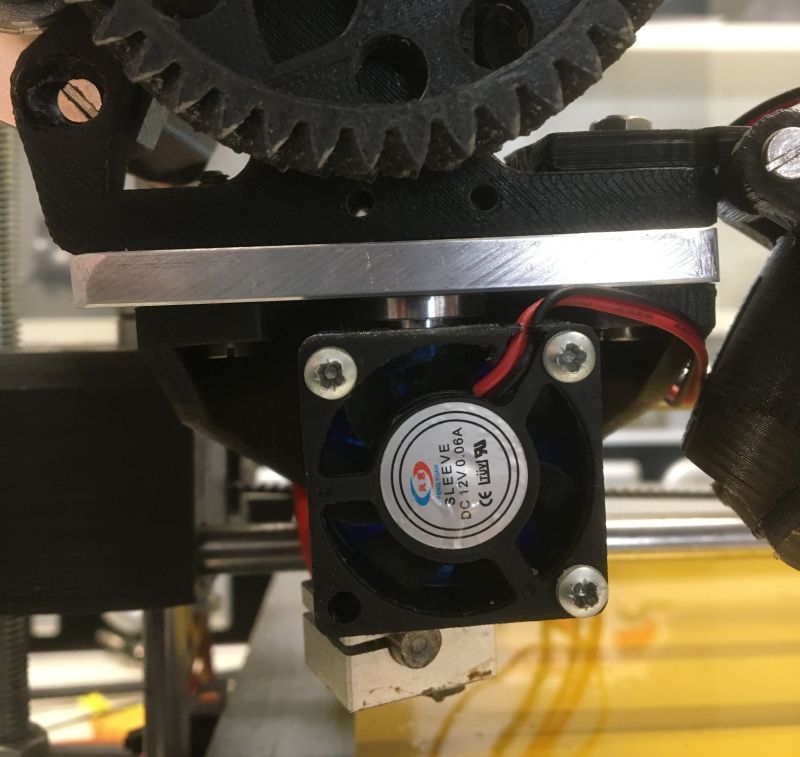
This is the status after the rebuild. I printed a filament cooler for the 40mm fan to direct the air to the filament.
Due to the ceramic heater (12V 40W) the problems of not maintaining the temperature are solved and the warm up time is reduced considerably, to a bit more than 1 minute.
The upgrade phase 2
The E3D hotend was mounted with a couple of M3 screws directly in de Wade extruder. I noticed after some time that the hotend flexed while printing. The PLA of the extruder became flexible due to the temperature in the hotend.
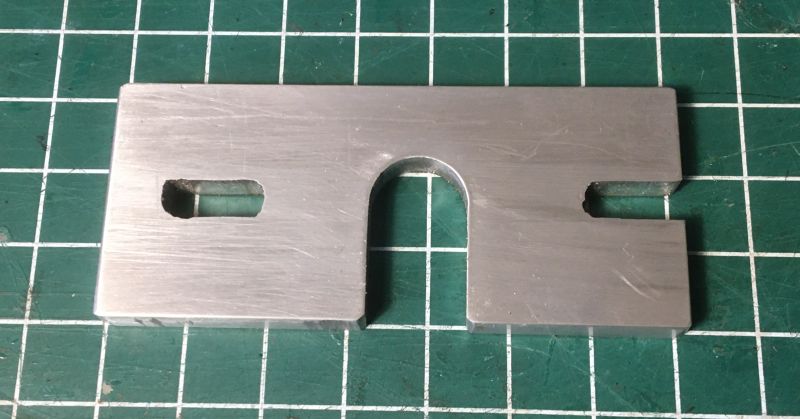
So after looking on the internet it turned out that the E3D designers released a mounting plate for the E3D hotend in combination with the wade extruder. I made the mounting plate outoff 6 mm aluminium (30x70mm).
The stability of the hotend is greatly improved after mounting the plate. This obviously increases the accuracy of the 3D prints. Especially with fast moves.
- www.schaalbouw.nl/projects © 2013 E.Paijmans
-

-

-
