Arduino project power
Looking at a suitable power source for electronics projects or arduino projects the alternatives are plenty nowadays.
A couple of years ago step-up or step-down circuits were expensive and large.
Nowadays these circuits are common in a range of commodity products.
Buying commodity products also means you can get these circuits at a very low cost.
This page will explain two type of power sources I use a lot for my projects.
- The use of powerbanks for mobile projects needing only 5Volt.
- The use of car USB chargers for projects with a 12-24 volts power supply.
The powerbank.
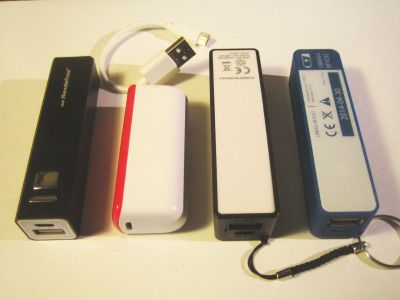
Powerbanks are real commodity products these days and are available in different capacity ranges for real bargain prices. A standard powerbank is available for as low a 3$ in regular shops. Keep a look out for the sales! Larger capacities are available very low cost also.
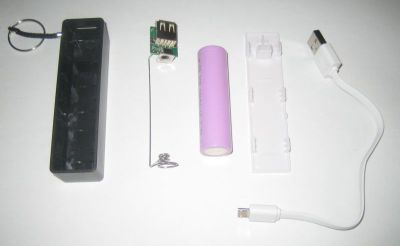
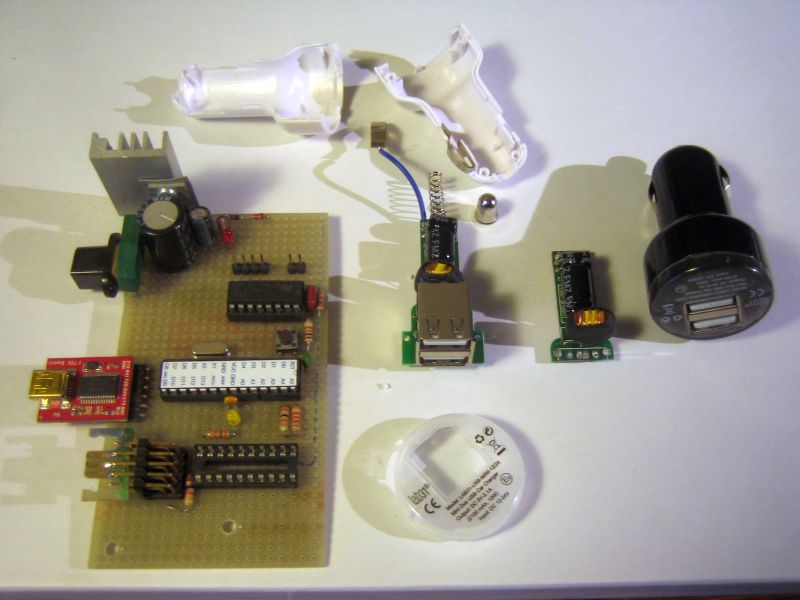
The picture shows the typical internals of a powerbank. You see the plastic shell, the circuit, the 3.7 battery and the supplied USB power cord. Normally a powerbank is supplied with a little USB cord. The USB cord can be used to power an arduino directly via a miniUSB (e.g. the Arduino mini pro) or by cutting the cord and using the wires to power a breadboard directly (see the picture below). Of course other cabling variants can be made which suit your specific project.
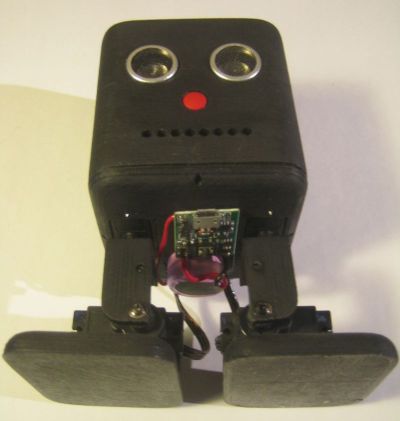
Here is an example of the powerbank hardware used in BOB the biped. The battery extend throug the base because of its size and the regulaton circuit is stuck to the bottom of BOB. Charging the battery is through the mini USB in the front. Furthermore the type of powerbank used had an on/off switch which means that BOBs power can simply be switched on and off. The powerbank powers a Teensy 2.0 which drives the 4 servos directly.
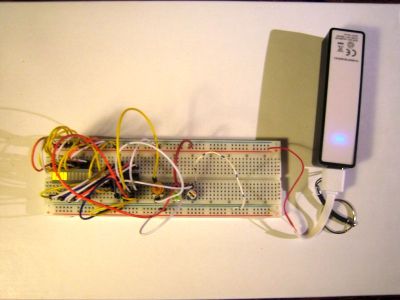
Another example would be the use in breadboard projects as shown with a modified USB cable.
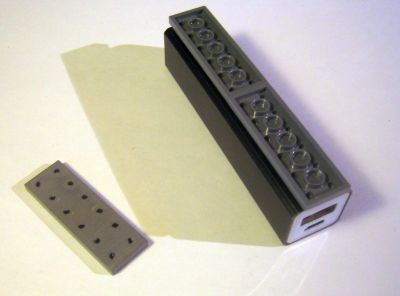
It can also be used in the Lego arduino robot as explained here On the powerbank lego strips can be attached using hot glue or double sided tape. For the bottom strip is is best to grind down the Lego strip as explained in the lego arduino robot page. This way it is very easy to integrate it into low cost Lego arduino projects.
USB car chargers
USB car chargers have step-down circuits nowadays which are far more efficient than liniar power regulator like the 7805.
The 7805 with a minimal heat sink is shown on the left side of the picture on a PWM and DCC model train command station, booster
that I made for mini layouts.
Being much more efficient means they produce less heat and therefor a heat sink is not neccesary in most cases.
Furthermore the actual circuit is very small, they suit a wide range of input voltages and they can withstand car input power conditions.
Specially the last is very important. Power input conditions can be very rough in cars.
It is always a good idea to use a set of capacitors before feeding the 5V output power to an arduino if used in a car.
The charger displayed already has a decent capacitor and coil but this is not always the case.
The charger in the picture is around 3$ and has a total output power of 2.1A. The 2.1A is available on the individual USB port.
Input power of this particular charger can be in the range of 12 to 24 volts making it suitable for a lot of projects needing a 5V supply.
Of course it can be used as is in a car with feeding power to the project via a (modified) USB cable.
However when integrating it with a project it is best to get rid of the bulky plastic cover.
I also cut of the last part with the USB connector, power LED and load resistors on the data leads of the USB,
as I do not need that for feeding my projects.
these USB car chargers can be used for instance in the following projects:
- To supply power to an in car arduno mini for monitoring car parameters
- To supply power for an arduino in a DCC arduino model train command station and booster and decoder circuits
- To supply power to an arduino on a breadboard configuration using a 12V lab power supply
- Stepping down a 12V power supply source for a 3D printer or small CNC
Use this information at your own risk:
There is no warranty expressed nor implied and I am not liable for any of your past,
present, nor future actions. If you use this information you could still damage any number of
components in your car or project environment causing it to no longer function. By utilizing these ideas and
instructions, you do so at your own risk.
- www.schaalbouw.nl/projects © 2013 E.Paijmans
-

-

-
